

G99 and Neat
#151 Re: G99 and Neat
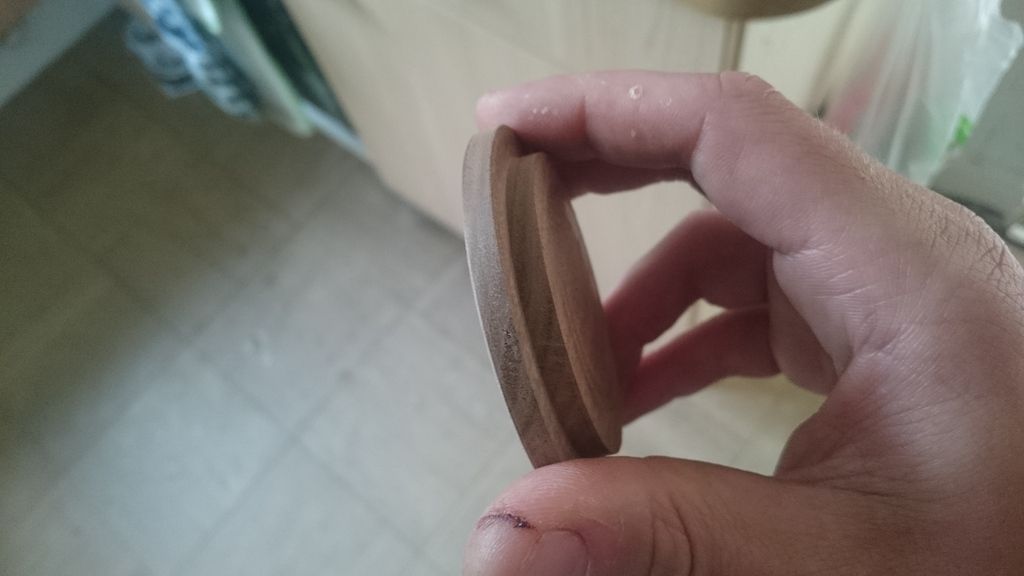
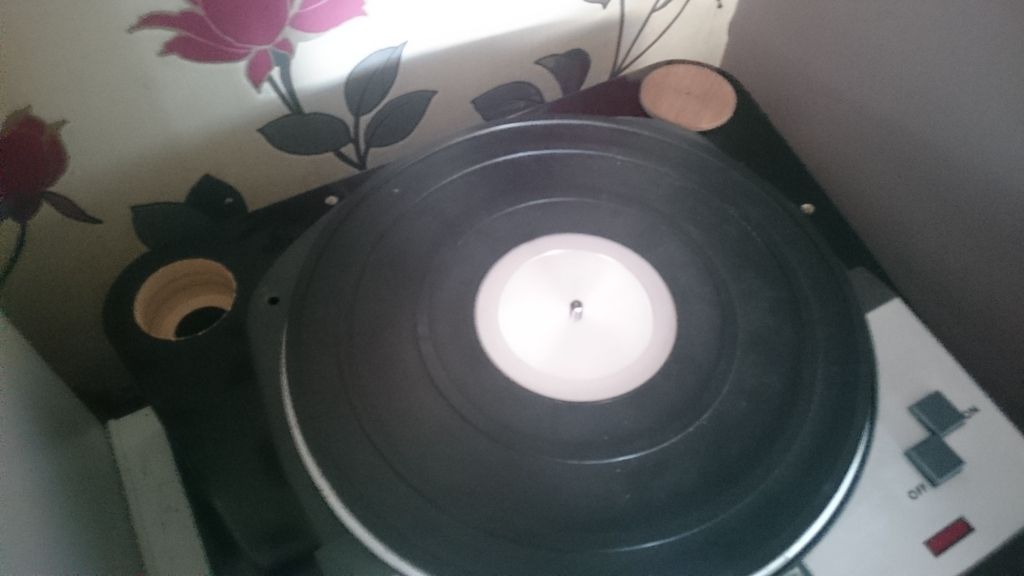
I know I'm an effin' idiot - but a picture can paint many words - The arm wasn't permanently fixed or set up fully other than getting approximate balance and very moderate downforce to get the pic. Mind you, the R200/RB300 hole may well be on the large side and may have taken some of the extra length on the NEAT arm. Hopefully the hole can be a slot and a neat (sorry) cover plate made to cover it?

-
cressy

- Shed dweller
- Posts: 2906
- Joined: Fri Aug 03, 2007 7:07 pm
- Location: the great white space
- Contact:
#152 Re: G99 and Neat
A new arm board isnt the problem, they are easy enough to make with an offset mounting hole. The problem is cutting a larger hole in the plinth for each arm
The existing holes arent wide enough to clear the mounting bosses for each arm, the temporary board had to have a 12mm hole in it to accommodate the second arm without the mointing boss so i could get it out to 237mm and check the alignment.
In order to get a new board with an offset hole in it for the first arm, the hole will need to be enlarged concentrically with the original hole, otherwise the new arm board will not be concentric with the curve around the rear corner of the plinth
The only way I can think of doing this is to make a bung on the lathe that fits exactly in the existing hole with a centre hole in it for a holesaw to be guided by
That way the new hole will automatically be concentric.
The holesaw shouldnt cut the bung so hopefully it can be got out and used for both holes
The hole saw will likely tear up the finish on the top surface so that will need to be addressed, and the shoulder inside the existing hole will need to be removed too so the arm cable will fit.
The holesaw will only cut a circular groove in the plinth so the rest of the material will need to be removed with a router. The finish on the top will be completely ruined so will need to be redone
-
Dr Bunsen Honeydew

- Old Hand
- Posts: 1358
- Joined: Mon Sep 21, 2009 10:50 am
- Location: Muppet Labs
#153 Re: G99 and Neat
Have you though about filling the holes with wood filler and re-drilling.

#154 Re: G99 and Neat
Ant, instead of the hole saw and router have you considered using a Forstner drill bit?

You'll need a pillar drill to do a good job but it might avoid damaging the finish you've worked hard on?
Ray
You'll need a pillar drill to do a good job but it might avoid damaging the finish you've worked hard on?
Ray
Sorry, I couldn't resist!
-
cressy
- Shed dweller
- Posts: 2906
- Joined: Fri Aug 03, 2007 7:07 pm
- Location: the great white space
- Contact:
#155 Re: G99 and Neat
Right.
After another day of faffing with the protractor, playing with be mounting distance, different null points and measuring I have come to the conclusion that the closest arm dimensions I can find are the denon da309. This gives a 244mm eff length, 230mm s/p distance and a set of null points at 57.9 mm and 114.6.
Armed with this info, I can get the arm to line up almost bang on on the quoted null points. Im allowing abit of leeway for my measurements to be a little out as im having to do it by eye.
The set null points on the protractor are 65mm and 120, and using these it is out by abit on both. I cant accurately measure the offset angle so best guess is that its close enough.
This may explain why dsjr got it to line up fairly well, the boss is 16 mm and the rega p3 hole wil be 23mm, so if it was on the outer edge it would have been within a few Mil.
This is with the cart set in the middle of the slots so there is the right amount of adjustment forward and backwards.
Im not about to take a drill to the plinth until im satisfied that it will be in the right place
-
pre65

- Amstrad Tower of Power
- Posts: 21400
- Joined: Wed Aug 22, 2007 11:13 pm
- Location: North Essex/Suffolk border.
#156 Re: G99 and Neat
Rightly so.
Have you considered plugging the existing holes ?
The only thing necessary for the triumph of evil is for good men to do nothing.
Edmund Burke
G-Popz THE easy listening connoisseur. (Philip)
Edmund Burke
G-Popz THE easy listening connoisseur. (Philip)
-
cressy
- Shed dweller
- Posts: 2906
- Joined: Fri Aug 03, 2007 7:07 pm
- Location: the great white space
- Contact:
#157 Re: G99 and Neat
I will have to plug them anyway when it comes to redrilling them.
I need at least another 8mm clearance for the mounting boss.
The current hole is 45 mm and the biggest forstner I have is 54 mm. I have 7mm clearance between the mounting nut edge and the edge of the hole at the moment so if I drill it out to 54 I will have a total of 11.5mm meaning just enough to off set the hole by the 8mm
I'll have to turn a plug to fit in the hole, then centre pop it with the tailstock so the mark is bang on centred on the plug. The central point on the forstner will then be located in the mark so it cuts the bigger hole out centred on the existing hole. If its not centred then the arm board wont be centred on the corner and will look like its been bodged on, I.e it will look crap.
-
cressy
- Shed dweller
- Posts: 2906
- Joined: Fri Aug 03, 2007 7:07 pm
- Location: the great white space
- Contact:
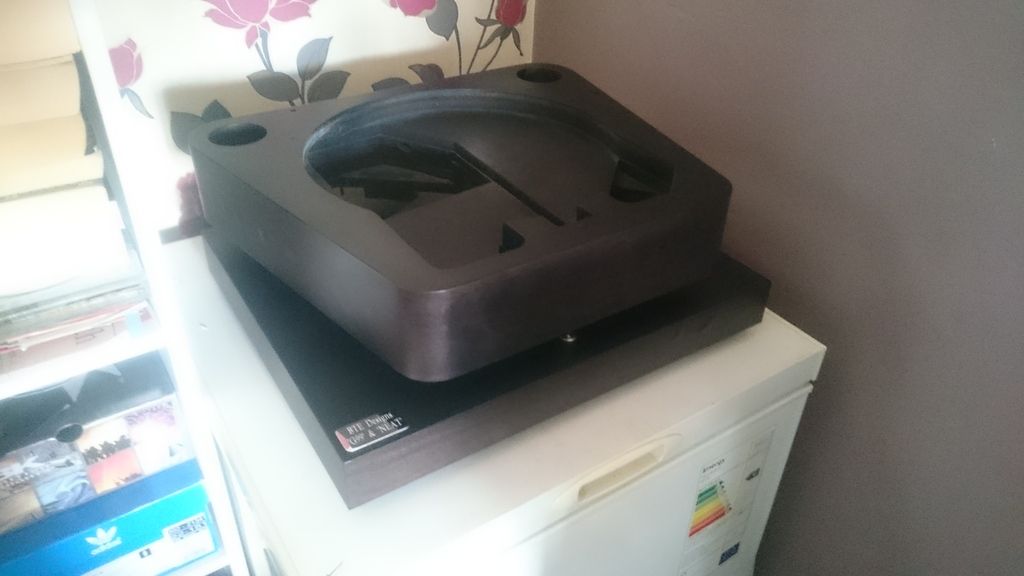
#158 Re: G99 and Neat
Managed to get the holes in the plinth redrilled and the 2 new boards made.
The new boards are different and are just flat without the deep drop so i can maximise the clearance inside.
They still key onto the 54mm hole as there is a shoulder cut into them. So they still sit concentric with the rear corners
And yes, I did bandsaw my finger when i cut the blanks
The new boards are different and are just flat without the deep drop so i can maximise the clearance inside.
They still key onto the 54mm hole as there is a shoulder cut into them. So they still sit concentric with the rear corners

And yes, I did bandsaw my finger when i cut the blanks
-
cressy
- Shed dweller
- Posts: 2906
- Joined: Fri Aug 03, 2007 7:07 pm
- Location: the great white space
- Contact:
#159 Re: G99 and Neat
Recutting the holes has removed the shoulder from where it was and placed it further down. I may need to go deeper with it, it depends where the arm cable ends up when plugged in.
Shall have to drill the boards out first and get the arms on to check

Shall have to drill the boards out first and get the arms on to check
-
cressy
- Shed dweller
- Posts: 2906
- Joined: Fri Aug 03, 2007 7:07 pm
- Location: the great white space
- Contact:
#160 Re: G99 and Neat
Next problem to deal with related to the arms is the rests will have to be moved.
The arms now are at different angles so wont clear the rests and drop onto the record intro groove. Ffs
I can redrill and fill the existing holes obviously. Hopefully I can blend the filled holes in so they cant be seen. Either way the top will need repainting which I had hoped to avoid, other than redoing the holes.
Tough luck I suppose, it will have to be done.
-
cressy
- Shed dweller
- Posts: 2906
- Joined: Fri Aug 03, 2007 7:07 pm
- Location: the great white space
- Contact:
#161 Re: G99 and Neat
On the plus side, both arm cables clear the shoulder in the plinth holes so i dont have to redrill them any deeper, they can just be repainted.
Lost the will to live with it at the moment, though there us now light at the end of the tunnel so i might find it again shortly.
So. Jobs to do before I can finally test it are
1. Repaint inside plinth arm holes.
2. Fill existing rest holes
3. Drill and tap new ones
4. Repaint top
5. Restain new arm boards
6. Put it back together including wiring loom.
Nearly there.
Im not going to put the satin clear on it until the bloody thing is working and tested. That will be the very last job
-
cressy
- Shed dweller
- Posts: 2906
- Joined: Fri Aug 03, 2007 7:07 pm
- Location: the great white space
- Contact:
#162 Re: G99 and Neat
2 more jobs down today. Had been asked to help my father in law rip up a load of decking so that took most of the day, but i got the new holes drilled and tapped for the arm rests, and part filled the old holes. Part filled with wood filler so its just below the surface of the hole, i'll then fill them with a skim of fine surface filler. Reason being, I need a really good smooth surface on the top so i can blend it into the paint when its redone. Wood filler will not give a smooth top and will sag as it dries so the holes will still be visible so done this way it will sag, then the dimple thats left will get a proper filler in it. Im hoping the holes will not show at all if i take an extra bit of time.
F I L gave me a load of nice dormer taps that he'd rescued from the local dumpit site in a toolbox that some bloke was skipping. Apparently he'd been asked to clear his grandads shed, told to get shut of everything so did as he was asked. So F I L asked if he could have it. Looks like the old boy was an retired engineer or something because there must be a few hundred quids worth of engineering drill bits, taps, scribes, old calipers, lathe dead centres ect.
It amazes me what people will chuck
-
cressy
- Shed dweller
- Posts: 2906
- Joined: Fri Aug 03, 2007 7:07 pm
- Location: the great white space
- Contact:
#163 Re: G99 and Neat
Got the plinth repainted on the top and did the satin clearcoat. There seemed no reason not to do it while it is completely stripped.
The finish is much better, lovely and even all over. No spirious reflections from the gloss in the grain, and has the satin sheen in the right places. Finally happy with it.
The badge is not stuck down, I usually put them on the rear plate, but it looks OK where it is so thats up to you Richard. If you're happy with it there i'll put it there.
It was worth having the satin clear mixed up by a firm ive used before, it went on lovely. Could have got it a little cheaper off the shelf, but 'nu agane' ( the company in question) always seem to use a really nice fine nozzle on their cans that doesnt spit, which is worth the extra. It can be a pig to avoid an 'orange peel' texture on clear, their nozzles make it easier to apply.
Im going to remove the bezels for the deck spikes and fit some inserts instead to lower the height, it looks better.
-
Dr Bunsen Honeydew
- Old Hand
- Posts: 1358
- Joined: Mon Sep 21, 2009 10:50 am
- Location: Muppet Labs
#164 Re: G99 and Neat
Where ever you think looks best.
-
cressy
- Shed dweller
- Posts: 2906
- Joined: Fri Aug 03, 2007 7:07 pm
- Location: the great white space
- Contact:
#165 Re: G99 and Neat
Done and on test
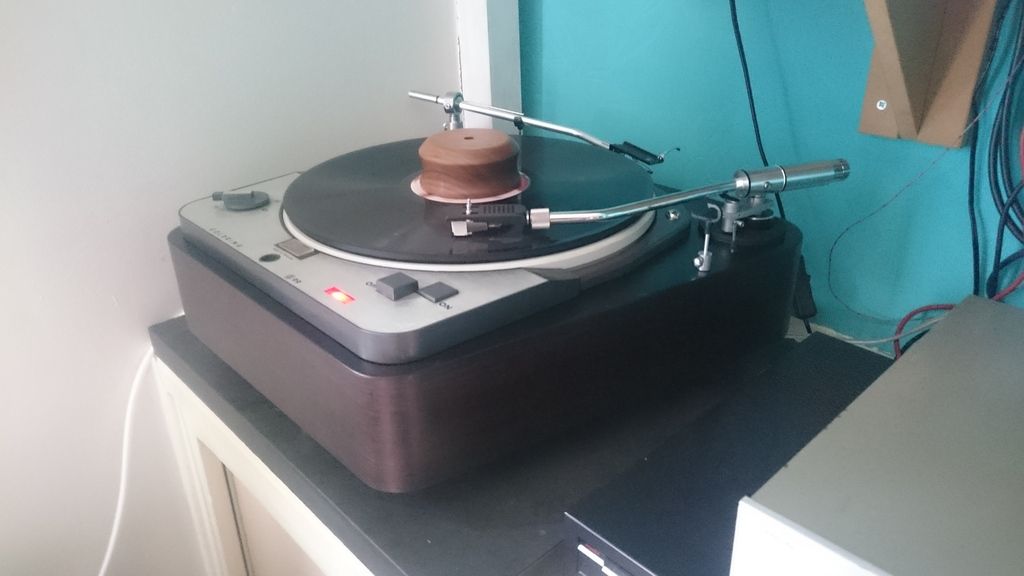
Cart is a Nondescript audio technica, dunno what it is.
I havent put it on the base as the arm would catch the shelf bracket with the extra height and we dont want that.
No need whatsover to rewire this arm Richard, can I have it?
U turn on the foot bezels, i'll leave them as is so that if you want to swap for rubber feet ect, they can be screwed straight in